DESIGNED for BEAUTY.
MADE for LIFE.
Blog & News
How to install hidden deck fasteners

When you’re installing a new composite deck, you want guests to notice its beautiful color and finish, not a bunch of ugly screws. That’s where hidden deck fasteners come in. They secure your decking to the substructure from the sides, so the faces of your deck boards remain beautiful. While there are products that work with solid edge deck boards, most hidden deck fastener systems are designed for use with grooved edge deck boards, so that’s what we’ll cover in this post.
Equipment you’ll need
- Grooved edge deck boards
- Starter clips
- Hidden fasteners
- Tool belt or bucket to hold extra fasteners
- Cordless drill/driver
Calculating materials
- Composite Decking: Estimating the number of deck boards depends on the size of your deck and the design you chose. Pro tip: round up by about 10%. Trust us, you don’t want to be one or two boards short. You can use our decking materials calculator [link to follow] to determine how many boards you’ll need.
- Starter Clips: You’ll need enough starter clips for the length of your composite deck. TurboClip recommends six clips per every 16 feet of deck, so a package of 12 starter clips is enough to cover 32 linear feet.
- Hidden Deck Clips: Fasteners are packaged to cover a specific surface area. Calculate your deck’s area by multiplying length times width to get the square footage. A 10’x10’ deck is 100 square feet, and a 20’x40’ deck is 800 square feet. Again, we want to make sure we order an additional 10%, so we don’t run short.
- Screws / Fasteners: Some hidden fastener systems like TurboClip include both clips and screws. We’ve mentioned TurboClip Universal Hidden Deck Fasteners, but Trex also offers clips with an integrated fastener. If your clips don’t include screws, you’ll need to multiply the number of joists by the number of decking boards. For instance, multiplying 12 joists by our 51 deck boards equals 612 fasteners. Adding 10%, we should make sure we have 673 screws.
Try our new Composite Decking Materials Calculator.
Install the starter clips
Starter clips are different from the other hidden deck fasteners. They are usually C-shaped and made from stainless steel to resist the elements. The clip base is longer than the top and features a hole to accommodate a fastener — an exterior grade Phillips or Torx screw.
Start on the open edge of the deck facing toward the home. Align the edge of the clip with the edge of the joist. Doing this will position the hole in the center of the joist. Drive in the fastener until it’s flush with the starter clip. Use about six starter clips for deck boards that are 16 feet long. (They’re inexpensive, so if you want to add more, that’s fine too.)
Slide in your first decking board
Your composite deck board has grooves on both sides to accept the hidden fasteners. Slide your deck board against the starter clip. Be firm, but don’t use too much force, or you might bend your clip. A good tap with your open palm should do nicely.
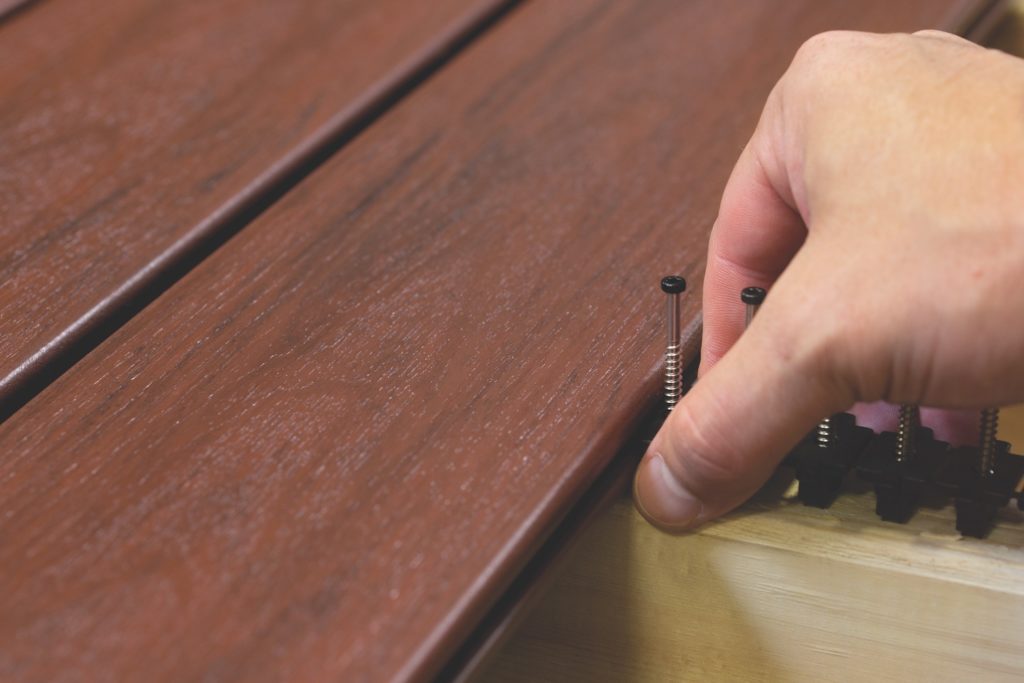
Slide the hidden fastener into the groove on the deck board
Now comes the fun part. Start from the outer edge of your deck and work toward your house. Slide the fastener into the groove on the near side of your deck board. Make sure that the fastener is centered on the joist. Good fasteners (like TurboClip) will come with pre-loaded screws. Some systems require you to insert a separate screw. Make sure you’re using exterior-grade screws, so they don’t become rusted and brittle over time.
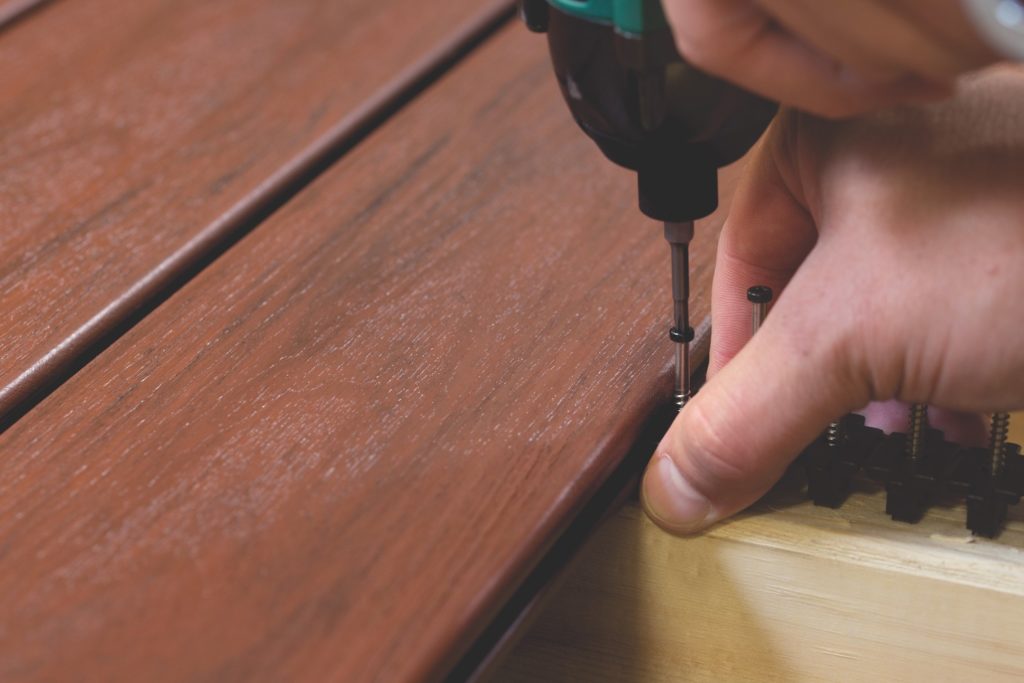
Drive the screw
Using your cordless drill/driver, drive the screw into the joist. We recommend “cordless” because wrangling an orange extension cord around decking, joists, and legs will get very frustrating very quickly. You want to drive the screw until it’s flush with the clip. The clip will be loose if the screw is too high; if you drive too far, the clip won’t sit flush. Take your time on the first few, and in no time, you’ll be driving like a pro.
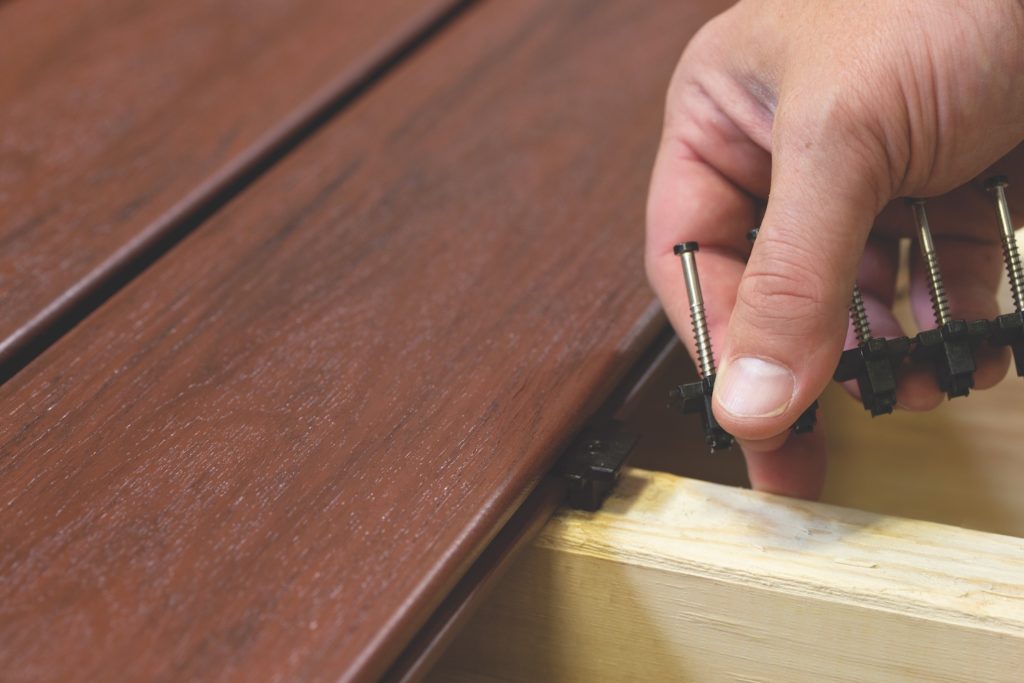
Snap off the remaining clip of fasteners
If you’re using TurboClip hidden deck fasteners, you have a “stick” of 16 connected clips. After driving the screw, simply snap off the remaining fasteners and move on to the next joist. (Pro tip: Make sure the fasteners don’t twist as you snap off the strip.) This connected-clip design ends up saving an enormous amount of time because you’re not fumbling for clips and screws. TurboClip estimates that using their product can reduce your install time by as much as 60%. If you’re not using TurboClip, grab a hidden fastener and move to the next joist.
Repeat across the joists
Work your way across the joists, being careful to center the fastener on the joist, and remember to drive your fastener properly ensuring it doesn’t twist. With your first row of hidden fasteners installed, you need to repeat this process for each decking board. Fortunately, the process goes pretty quickly and smoothly. We suggest having an assistant sliding the decking boards onto the joists.
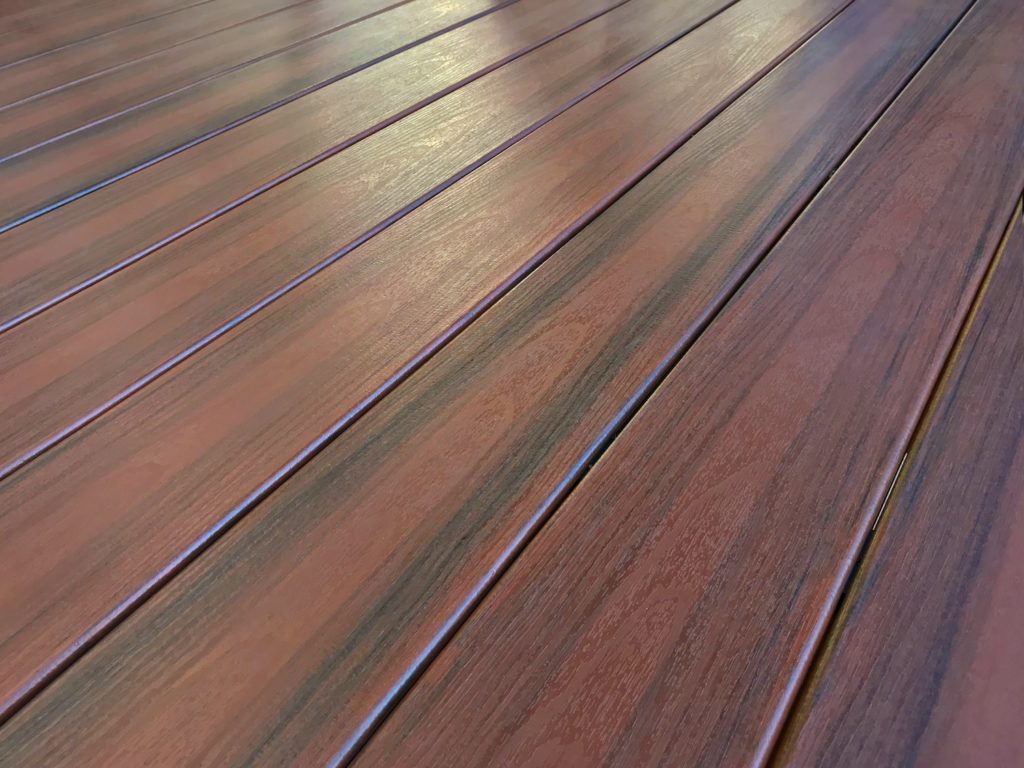
Cover the exposed joist end with fascia board
You’re done with installing hidden deck clips, but you’ll want to complete your deck by covering the starter clips (and exposed rim joist) with a fascia board in a matching (or contrasting) color.